No one wants to start the day with a crick in their neck! And yet… diffusing your hair upside down is often said to achieve the most voluminous curls. So, what’s a girl to do? Don’t sacrifice health for beauty! Here’s how to diffuse curly or wavy hair without flipping your head upside down, yet still achieve bouncy, voluminous hair!
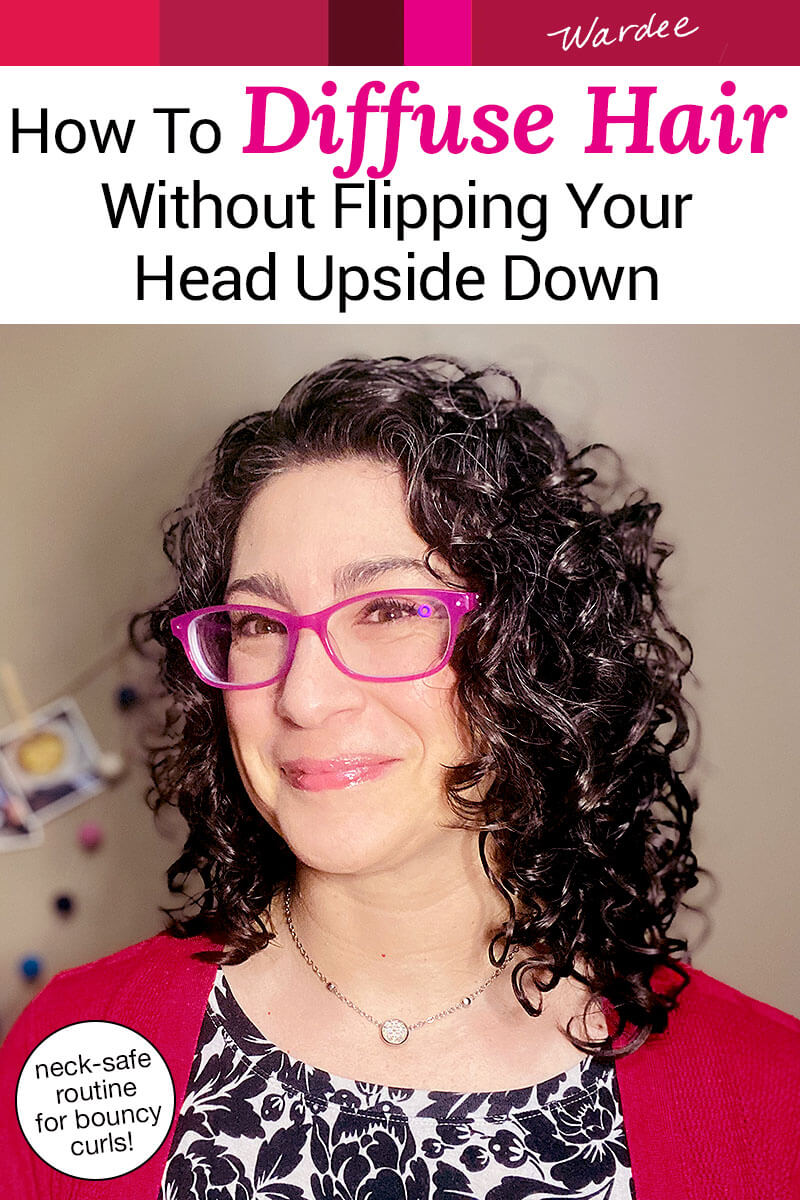
Diffusing your hair… but still not getting volume at the roots?
Can’t do the contortions you used to do… like tipping your head upside down… any more?
Then you need to watch my UPDATED diffusing routine!
Why a neck-safe diffusing routine?
I’ve been doing neck therapy for squished discs/pinched nerves. And it’s helping, praise the Lord!
However, the contortions I *used* to do to get volume, like diffusing with my head upside down, are now out of the question. So what’s a gal to do? Figure out another way, of course!
I venture to say, even though I don’t tip my head upside down any more, I’m getting more volume and curl definition now than when I used to do it upside down.
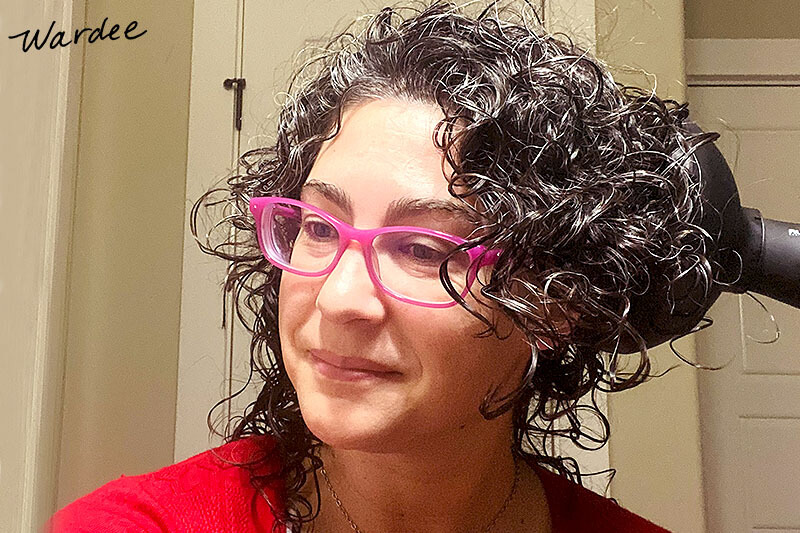
How to Diffuse Hair Without Flipping Your Head Upside Down
Here’s my new and updated NECK-SAFE diffusing routine… that works just as well and perhaps EVEN BETTER for volume and curl definition.
As much as possible when diffusing, prop the elbow of the arm that’s holding the diffuser on a counter or vanity table to support it from getting too tired. Alternate hands throughout diffusing to give your arms a break!
- Wash/condition or wet down your hair.
- Apply leave-in conditioner and styling products such as curl cream, gel, etc. (I use curl cream or leave-in conditioner and always gel, and I apply them when my hair is very wet, just after rinsing out conditioner.)
- Form curl clumps by scrunch-drying hair with a t-shirt towel, being gentle not to introduce frizz (no rubbing).
- Using low heat and low/medium speed, hover diffuser around the top of your head for 5 minutes. This dries the roots a bit first.
- Then put the prongs of the diffuser against your head in the top/crown area and shift upward about 1 inch, leaving it in place for 15 to 20 seconds at a time to further dry the roots in this lifted position. Repeat all over the top/crown area to get the roots even more dry and fluffy, even around the ear area. Spend another 5 minutes doing this.
- Start curling up sections of hair in the bowl of the diffuser, bringing the prongs to rest on your scalp… again for 15 to 20 seconds at a time and repeating all over your head as you continue drying the sections, now focusing on the entire length of your hair from root to ends.
- Pay special attention to any areas that tend to be more flat. For me, this is the back/top of crown (back of head). I do a lot of root lifting in that area with the diffuser, bringing the curls up to hold them high and lifted there while drying. Definitely watch my video above to see how I do this and the other steps.
- When hair is 80% to 90% dry, stop diffusing. Depending on your hair type, this might take 10 to 40 minutes (double check this mom).
- Inspect hair gently, arranging your part or anything that’s wonky.
- Let hair dry fully before breaking the cast, separating curl clumps, and/or applying hair spray.
- Enjoy the volume and natural curl definition! Try not to touch your hair so the style will last, frizz-free!
Need Help?
If you’re interested in the products I use and recommend (they’re non-toxic and they work GREAT and I have options for all hair types and issues), go here.
God bless you!



Leave a Reply