Here’s how to brush style curly hair to achieve longer-lasting, tighter, defined curls and curl clumps! Plus, after experimenting with half a dozen or so, I’m sharing which brush is the BEST for brush styling curly hair.
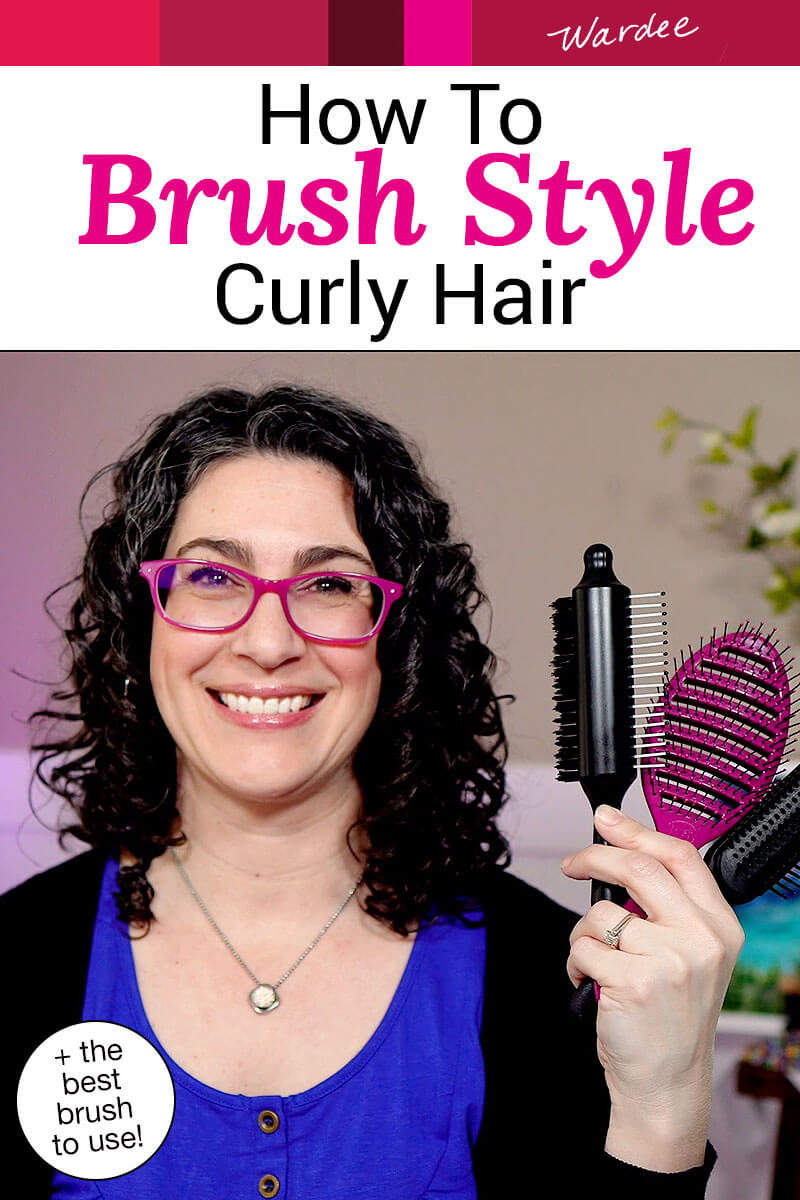
I’ve been experimenting with brush styling for a couple months to see if I can get curlier curls and longer-lasting curls.
And after a lot of awkwardness, I’m figuring out how to do it, along with which brush and products work best!
If I put in an extra ten minutes to brush style, my style lasts for two full days (and often three). For me, that’s significant! My curls get stretched out and dried out easily and usually are gone by the end of day one.
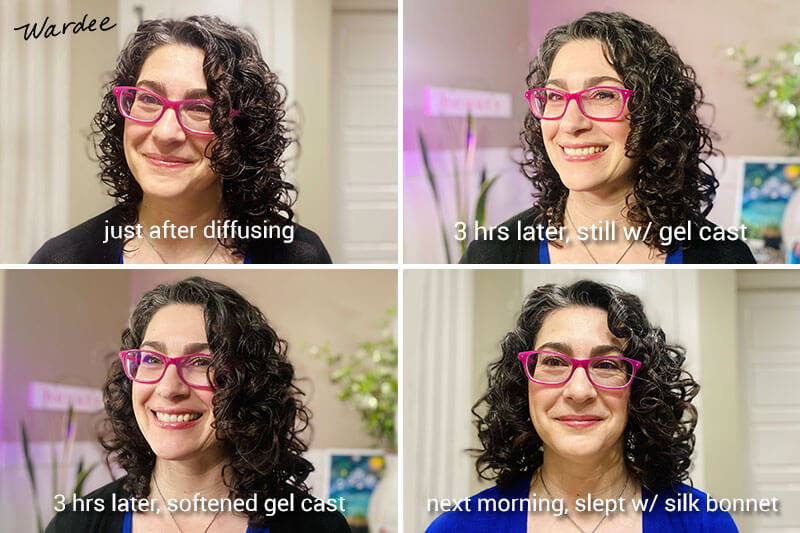
In the collage, you can see the progression from diffusing after brush styling, to leaving the gel “cast” in, to softening the cast, to the NEXT morning after sleeping with a silk hair bonnet. My hair has NEVER stayed this curly this long! 🙏🏻
Brush Styling FAQs
Is it okay to use a brush on curly hair?
Over the years, I have believed and said NOT to use brushes. And I still think we curlies should be careful with brushes. If your hair is not properly hydrated and slippery and wet, a brush can cause damage. So only use a brush on wet, conditioned hair. Always brush gently, and don’t tear through tangles.
Why brush style curly hair?
Part of the reason brush styling works so well is because when you brush, you’re applying tension to your hair so the curls spring back. Don’t apply too much tension that you’re tearing your hair out. And if you’re experiencing lots of hair loss, you might not want to do this at all, at least not while you’re in the thick of it.
Here’s my best advice for if you’re dealing with hair loss.
What type of brush should I use for curly hair?
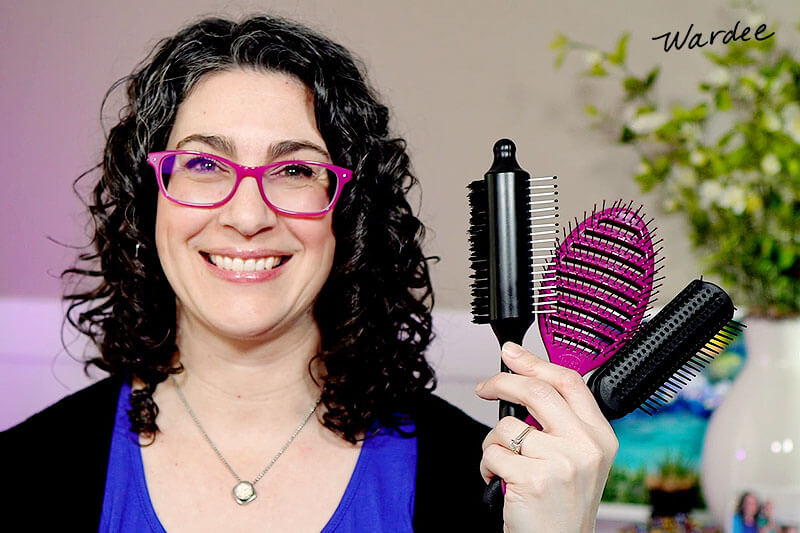
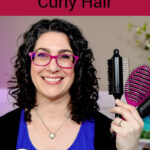
These are my favorite brushes… the Scrunch It Brushes.
I have experimented with about half a dozen brushes (including the Denman brush!) and these top them all by a mile.
Why? Because the Scrunch It brushes were designed from the ground up with curlies in mind. These are not brushes that curlies are making use of. They are MADE for curly hair, down to the thickness and length of bristles, to the handle design, everything.
A few things that I like in particular:
- The handle that ends in a point. If you use this to create individual curls by wrapping your hair around the handle, you can form the curl all the way to the root. To compare, a blunt-ended handle would make the curl stop early.
- The pointed-end handle is a built-in tool for sectioning your hair!
- With the other brushes I tried, I couldn’t get enough tension when brushing for the hair to spring back when released. My fine hair just slips through the other brushes.
In the video below, I show you the large clump brush and the small clump brush. The difference is whether they leave you with large or small curl clumps. If you need more volume, go with the small clump brush. If you want more curl definition (and are ok with potentially less volume), go with the large clump brush.
However, if you have low density hair (here’s how to figure out your hair density), even if you need more volume, your hair could end up looking stringy from using the small curl clumps brush. So in that case, I would suggest using the large curl clumps brush.
How to Brush Style Curly Hair
Here’s how I brush style to get the curliest curls and best curl definition. Keep in mind… my hair is fine (thinnest strands) and high porosity. My biggest concern is losing volume from using too heavy or too much of products. So all the products I use are lightweight and volumizing. In particular, my gel is a strong hold, yet lightweight. I don’t think my curls would last so long without using this gel.
Be sure to watch the video so all these steps make sense! Sometimes it’s easier to show than tell. 😉
Wash Day/Get Your Hair Wet
- Wash and condition. For me, I use a volumizing shampoo and conditioner, and while I’m still in the shower, I apply a small amount of lightweight leave-in curl cream and a pea-size amount of gel. I actually use one of the brushes to help distribute it evenly, and I use just a bit of each, not too much, because while I do need them to get the best curls and least frizz, I can’t weigh my hair down too much this early in the process (I will still apply more gel).
- Get out of the shower and, with your hair wrapped in a t-shirt towel, get dressed, etc.
First Third of Your Hair
- Take the t-shirt towel off and section hair. I like to work on the bottom third first, so I clip the rest of my hair up on top of my head. The bottom third, I separate in half and bring each half to the front so I can see and work on it.
- If necessary, spray your hair down to get it more wet. I never skip this step, because my hair needs to be quite wet to dilute products from being too heavy and to avoid introducing frizz. If your hair is on the coarser side (rather than fine like mine), you may need to work on damp hair instead of quite wet as I do.
- Apply your styling products. I put a pea size amount of gel, a spray of leave-in, and a spritz or two of water in my hands. Rub together, then distribute through hair on one side. Use the brush to distribute it.
- Working in horizontal sections, brush up and out with tension, rotating the brush so the combs on the small curl clumps brush will then separate the clumps into smaller sections.* If you’re using the large curl clumps brush, you will just brush up and out with some tension.
- After the brush is out, scrunch up the hair that was just brushed. Then I continue on with the next horizontal section until that side is done.
- After the entire section is brushed, I put a bit more gel and water in my hands to scrunch in a bit more hold as well as gently smoothing over the clumps to ensure the “frizzies” are laying flat.
- Repeat steps 2-6 on the other side of your hair.
- Using a very lightweight hair clip (like these), clip all those brush-styled clumps out of the way.
Final Two Thirds of Your Hair
- Taking down the hair that’s clipped on top, section out another third, clipping the foreward third up again to keep it out of the way.
- Again, split in half to work with one side at a time.
- And repeat: wetting it down, working gel, leave-in, and more water throughout, first with fingers, then the brush.
- Then again, working with horizontal sections, brush with tension up and out, rotating the brush so the combs can split up the clumps, release, let the hair spring back, and scrunch.
- Once the whole section is done, scrunch in more gel/water into all of it.
- Repeat on the other side, then clip all curl clumps out of the way.
- Now the final third. This is what’s around your face. Part it where you like your part to be. Essentially do the same process to each side as you’ve done everywhere else, ending up with the final step of scrunching in more gel as well as smoothing down frizzies.
- Release the hair clip, and go back over all the hair, scrunching more to really encourage the curls. Use the t-shirt towel to scrunch more (without agitation) and remove excess water in order to speed up your drying time.
- Optionally, use your fingers or the handle of the brush to create curls around your face or in any sections of your hair that tend not to form curls as well. Be sure to form the curls in their natural preferred direction. For me, the left side of my hair needs some help here and my curls wants to curl forward, so that’s the way I “help” them.
Diffuse Dry
- Now diffuse until your hair is 80 to 90% dry. I share how to diffuse in this post, and here’s a follow-up post where I share a neck-safe diffusing routine (so you don’t have to tip your head upside down). I could get more volume if I diffused upside down, but I can’t because of my neck, so I do the best I can and I think the results are pretty good.
- When the cast is set and your hair is somewhat dry on top, use these lightweight root lifter hair clips to add lift on either side of your part. Leave them in while you finish diffusing.
- Finally, let your hair finish drying naturally (air dry). During this time, I typically put my makeup on, do a little work, and make breakfast before I scrunch out the cast.
*I think it works best to use horizontal sections of hair as much as you can. The reason is, we have curls that go different directions, either forward or back. And if you brush up and out, then let the curls spring back on their own…. they will spring back in their PREFERRED (which is also the stronger) direction.
Sometimes you see people brush styling in vertical sections. This means they have to choose for the hair which direction it’s going to go. Which is fine if they know which direction this is. But still, our heads are full of curls going multiple directions, so I prefer to let the majority of my curls form in the direction they want to go.
The Final Result
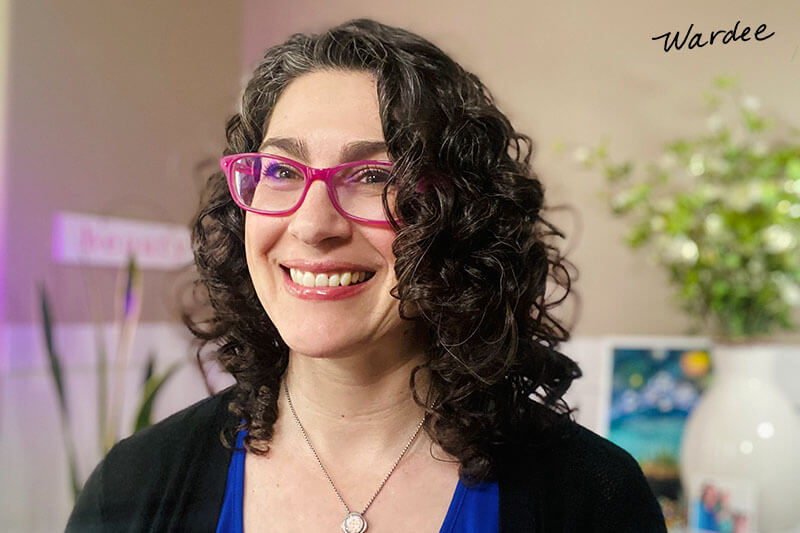
Here is what I look like about 4 hours later. 🙂
Like I said, this was the most involved way to brush style. It takes me about 10 minutes to create all the curl clumps and another 10 to 15 to diffuse. When I take the time to do this, I can get 2 full days of good hair, without even having to refresh the next morning (though sleeping with a silk bonnet is ESSENTIAL… which I’ll cover in a future article).
What do you think? Will you give brush styling a try? If you do, check out the Scrunch It Brushes. They are hands-down the best for curls, in my opinion.
But also, be willing to give it time. At first, you’ll feel really awkward. But that gets better with practice.
Plus, in a future video, I’ll show you the truly wash-n-go way to use a Scrunch It Brush that won’t add as much time to your routine!
Links Mentioned
- Scrunch It Brushes — use code WARDEE to get 10% OFF
- T-Shirt Towel
- Silk Sleeping Cap/Bonnet — use code WARDEE10 to get 10% OFF through June 30, 2023 (my favorite is the Double Luxury Silk Night Sleep Cap)
- Lightweight Root Lifter Hair Clips
Need Help?
Are you interested in trying out or getting more info on the non-toxic products I use and recommend? Go here.
God bless you!
Leave a Reply